Building your own brick pizza oven might seem like a daunting task, but with a little effort and the right materials, you can create a functional and charming addition to your garden. A wood-fired pizza oven offers not just a unique way to cook delicious pizzas, but also a versatile space for baking bread and other culinary delights. Years ago, such ovens were a staple in many homes, and today, they continue to offer a rustic and authentic cooking experience. In this guide, we’ll walk you through the simple steps of how to build a brick pizza oven, transforming a few bricks and some basic materials into a centrepiece that will bring warmth, flavour, and joy to your gatherings. Whether you’re a seasoned DIY enthusiast or just looking for a rewarding project, building a wood-fired oven is within your reach.
Step One: Preparing the Base
Before you start building your brick outdoor pizza oven, it’s crucial to establish a solid foundation to ensure the structure’s longevity and functionality. The base will support the entire oven, so selecting the right location and materials is essential. If you need quality materials, consider visiting Vitcas. With a long-standing reputation in Bristol, UK, Vitcas specialises in high-quality refractory and heat-resistant products. From fire bricks to refractory cements, Vitcas has everything you need to build a durable and efficient pizza oven. Whether you’re a dedicated home cook or embarking on a larger project, Vitcas provides the expertise and materials to help you create the perfect oven for delicious wood-fired pizzas.
Site Selection
First, choose a suitable space in your garden or backyard for the pizza oven. Ensure it’s in an area with good air flow to help the fire burn efficiently and keep smoke away from your house. Also, consider the proximity to your kitchen for ease of use.
Creating the Foundation
To create a sturdy base, start by pouring a concrete slab. This slab will serve as the foundation for your pizza oven. It should be level and thick enough to support the weight of the oven. Once the concrete slab has been poured, allow it to cure for a few days.
Next, use concrete pavers to form a level surface on top of the slab. These pavers will provide additional stability and ensure that the oven remains level during use. On top of the pavers, stack cinder blocks to form the oven base. Arrange the blocks in a square or rectangular shape, depending on your chosen oven design, ensuring the structure is secure and stable.
Building the Wooden Frame
To support the concrete slab while it dries, build a simple wooden frame. This frame will help maintain the shape and ensure the slab dries evenly without warping. The frame can be removed once the slab has fully cured, which usually takes a few days to a week.
Insulation Properties
A well-insulated base is vital for maintaining the high temperatures needed for cooking pizzas. The concrete pavers and cinder blocks provide some insulation, but for the best results, consider adding a layer of insulation between the slab and the oven floor. This insulation will help retain heat within the oven, allowing you to achieve the perfect cooking environment.
With your base prepared, you’re ready to move on to constructing the oven floor and walls, setting the stage for your brick pizza oven build.
Step Two: Constructing the Oven Floor and Walls
With the base of your brick pizza oven ready, it’s time to move on to constructing the oven floor and walls. These elements are crucial as they will directly impact the oven’s performance, particularly in retaining and distributing heat evenly, ensuring your wood-fired pizza is cooked to perfection.
Laying the First Layer
Start by creating the oven floor, which will serve as the primary surface for cooking pizza and other dishes. To achieve this, use fire bricks, which are designed to withstand the high temperatures required for a wood-fired oven. Lay these fire bricks in a herringbone pattern, which not only provides a strong and stable surface but also helps to minimise the risk of cracking due to heat expansion. As you lay each brick, use refractory mortar to bond them together, ensuring a tight and secure fit.
Building the Walls
Once the oven floor is complete, you can begin constructing the walls of the oven. Start with the first course of bricks, which will form the base layer of the walls. It’s essential to ensure that this layer is level and properly aligned, as it will set the foundation for the entire structure. Place each brick carefully, using mortar to secure them, and check that they are level before moving on to the next.
As you build up the walls, pay particular attention to the placement of the middle brick in each layer. This brick plays a critical role in the structural integrity of the oven, helping to evenly distribute the weight of the bricks above it. Continue to build the walls, layer by layer, until they reach the desired height for your oven.
Two Layers of Insulation
For improved insulation properties, consider adding a second layer of bricks or concrete blocks to the outside of the oven walls.

This additional layer helps to retain heat within the oven, reducing heat loss and ensuring a more consistent cooking temperature. It also provides an extra layer of protection, helping the oven maintain high temperatures for extended periods, which is particularly useful when baking bread or cooking multiple pizzas.
By the end of this step, you will have a sturdy and well-insulated foundation for your brick pizza oven, with the oven floor and walls ready to contain and distribute the heat generated by your wood fire. Next, you’ll move on to constructing the dome and chimney, key components that will shape the oven’s heat retention and air flow.
Step Three: Constructing the Dome and Chimney
With the oven floor and walls in place, the next step in your brick pizza oven build is to construct the dome and chimney. These components are crucial for creating the optimal environment for wood-fired cooking, ensuring even heat distribution and proper air flow.
Creating the Dome
The dome is the heart of the wood-fired pizza oven, designed to trap and radiate heat effectively. Start by forming the base of the dome with fire bricks. Begin laying the bricks in a circular pattern, gradually tapering them inward as you build up the height. This shape helps to concentrate the heat and allows it to circulate evenly around the oven, which is essential for cooking pizzas and other foods.
As you build the dome, use refractory mortar to secure each brick in place. It’s important to work methodically, adding bricks one by one, and checking that the structure is stable and well-aligned. For additional stability, consider using a temporary wooden frame or a mound of sand inside the dome to support the bricks as you build. This will help maintain the shape until the mortar sets.
During this process, it’s advisable to light small fires inside the dome. These small fires will help the mortar to dry gradually and ensure that the dome retains its shape as it cures. Gradual heating also prevents cracks from forming due to rapid temperature changes.
Chimney Installation
The chimney is a vital part of your brick pizza oven, as it facilitates proper air flow, allowing smoke to escape and fresh air to feed the fire. Position the chimney at the highest point of the dome, slightly towards the front, to ensure efficient ventilation.
To support the chimney, you may need to install a concrete lintel above the oven door. This lintel will bear the weight of the chimney and prevent the dome from collapsing over the door opening. Once the lintel is in place, continue building the chimney upwards using fire bricks, securing them with refractory mortar.
Make sure the chimney is tall enough to draw smoke away effectively and that it aligns well with the rest of the oven design. Properly installed, the chimney will significantly improve the performance of your wood-fired oven, ensuring that the fire burns efficiently and that the cooking environment is well-ventilated.
Final Dome Layer
To complete the dome, apply a final layer of bricks or refractory mortar. This layer not only strengthens the structure but also enhances its insulation properties, helping to retain heat inside the oven. Ensure that all joints are well-sealed and that the dome is smooth, with no gaps or weak spots.
By the end of this stage, your brick pizza oven will have taken on its characteristic dome shape, with a functional chimney in place. These elements work together to create the high temperatures and consistent heat distribution needed for cooking wood-fired pizza, baking bread, and more. The next step involves adding the finishing touches and preparing the oven for its first firing.
Step Four: Finishing Touches and First Firing
With the dome and chimney completed, your brick pizza oven is nearly ready to start cooking. The final steps involve adding the finishing touches, curing the oven, and preparing it for its first fire, which will set the stage for many delicious wood-fired pizzas and other dishes.
Adding the Door
A well-fitting door is essential for controlling the temperature inside your pizza oven. You can create a door using materials like wood or metal, making sure it is sturdy and resistant to high temperatures. The door should fit snugly against the oven’s entrance, preventing heat from escaping while also allowing you to control the air flow. This control is crucial for maintaining the optimal cooking environment, especially when you’re aiming to cook a perfect wood-fired pizza or bake bread.
When installing the door, ensure that it can be easily removed or opened during cooking. This flexibility allows you to manage the oven’s heat and access the cooking space with ease.
Curing the Oven
Before you can start cooking, it’s important to cure your brick pizza oven. This process involves gradually heating the oven over several days to allow the mortar and bricks to dry completely and harden. Start by lighting small fires inside the oven, using small sticks or kindling. Keep these fires small to avoid sudden temperature changes that could cause cracks in the mortar.
Increase the size of the fires gradually over the course of a few weeks. This slow curing process ensures that the oven can withstand the high temperatures required for cooking without suffering damage. Throughout the curing period, monitor the oven’s temperature and check for any signs of cracking, addressing them as needed with additional refractory mortar.
First Cook
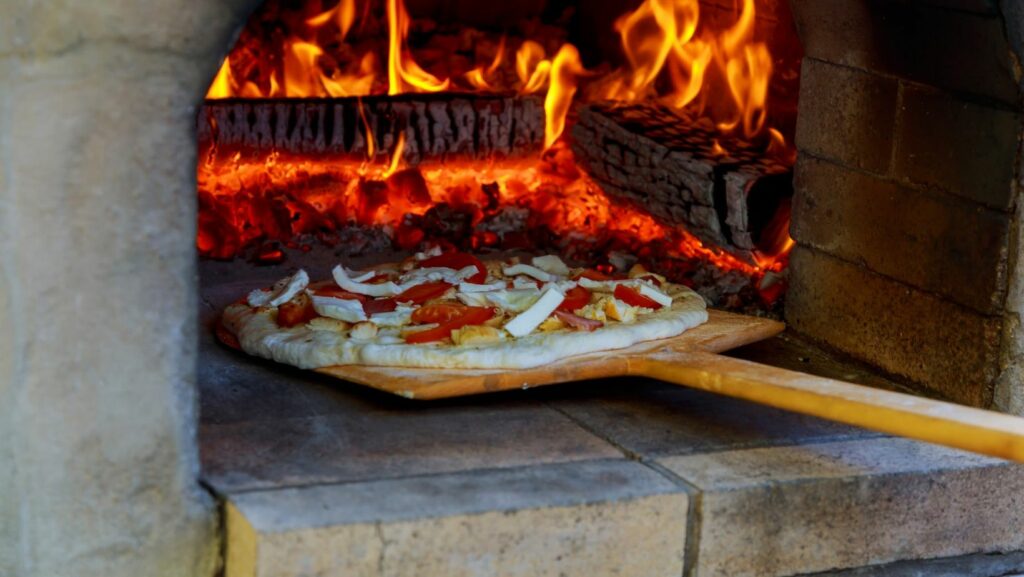
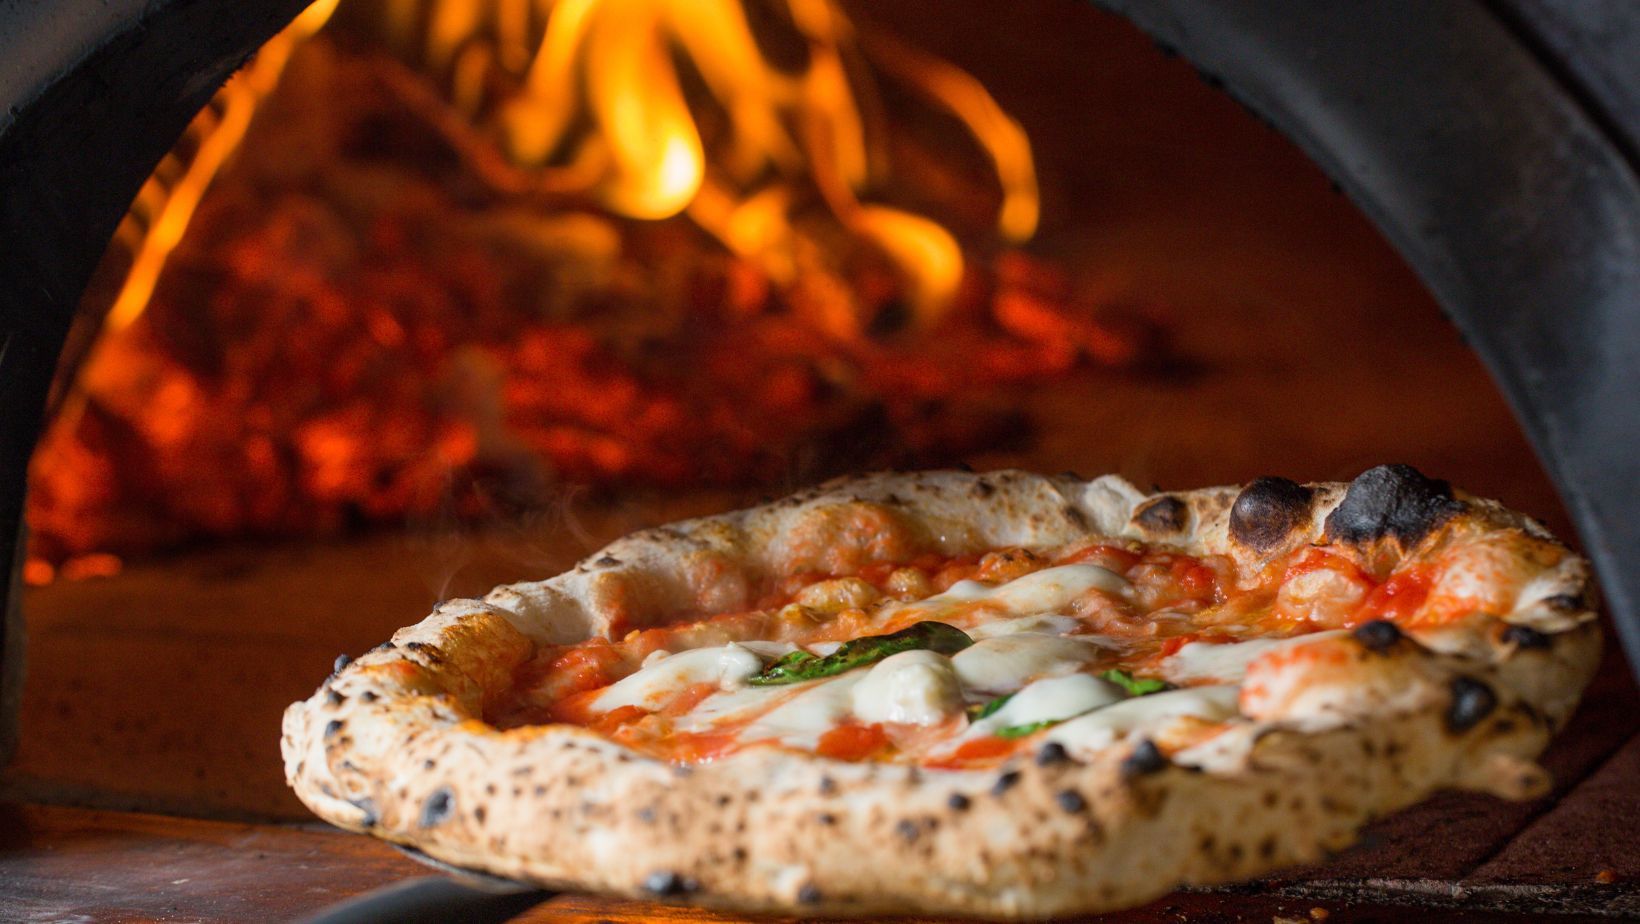
Once the oven is fully cured, it’s time for the exciting moment: your first wood-fired pizza cook. Begin by building a small fire in the middle of the oven, gradually adding larger pieces of wood to increase the heat. Once the oven reaches the desired temperature, typically around 400-500°C, use a pizza peel to slide in your first pizza. The intense heat will cook the pizza quickly, creating a crisp crust and perfectly melted toppings.
After cooking, be sure to remove all the ash from the oven to maintain its cleanliness and efficiency for future use. This will also help preserve the oven’s heat retention and prevent cold spots during subsequent cooking sessions.
Residual Heat Usage
One of the advantages of a well-built brick pizza oven is its ability to retain residual heat long after the fire has died down. You can use this residual heat for baking bread, roasting meats, or even slow-cooking dishes. Simply close the door after your primary cooking session, and the remaining heat will gradually decrease, providing a perfect environment for a variety of cooking techniques.
By the end of this process, your brick pizza oven will not only be functional but also a beautiful and practical addition to your garden.
The satisfaction of creating wood-fired pizzas, breads, and other dishes in your own DIY brick oven will make all the effort worthwhile, offering years of culinary enjoyment.
Building a Wood Fired Pizza Oven – Conclusion
Building a brick pizza oven might seem like a significant undertaking, but with careful planning and a bit of effort, it’s a rewarding DIY project that offers lasting benefits. From the first steps of preparing the base to the final touches of curing the oven, each stage contributes to creating a functional and beautiful addition to your garden. Not only does a wood-fired pizza oven allow you to cook delicious pizzas with authentic flavour, but it also opens up possibilities for baking bread and experimenting with various dishes using retained heat. With proper care and maintenance, your brick pizza oven will serve as a centrepiece for gatherings, offering years of culinary enjoyment and the satisfaction of having built something with your own hands.