Spring cleaning is the annual ritual of ridding homes of winter dust, grime, and clutter, a chance to start fresh. But “deep spring cleaning” doesn’t have to mean chaos and overwhelm. A solid spring cleaning checklist breaks the work into manageable zones, room by room, so homeowners can tackle projects systematically without burning out. Whether someone’s prepping for the season ahead or simply wants a fresh start, this spring house cleaning guide covers kitchens, bathrooms, bedrooms, and outdoor spaces with practical, actionable steps that actually make a difference.
Key Takeaways
- A spring cleaning checklist broken into room-by-room zones makes the process manageable and prevents overwhelm while ensuring systematic coverage.
- Deep cleaning often-overlooked appliance areas (behind refrigerators, inside dishwashers, under microwave splatters) prevents pest problems and improves efficiency.
- Bathrooms require special attention to moisture-prone areas like exhaust fan vents, under-sink cabinets, and caulk seams where mold and mildew thrive.
- Decluttering closets and organizing by category reduces dust accumulation while making it easier to find items you actually wear.
- Outdoor spaces including decks, gutters, and entryways need thorough cleaning to prevent water damage and remove winter debris.
- Using the right tools (HEPA vacuum, microfiber cloths, squeegees) and appropriate surface-specific cleaners delivers better results than multi-purpose products.
Kitchen and Dining Areas
The kitchen takes a beating through winter. Start by emptying and wiping down cabinets, this is where crumbs, spills, and dust accumulate unseen. Check expiration dates on oils, spices, and condiments while you’re at it.
Move appliances (refrigerator, range, microwave) and clean behind and underneath them. Grease and food debris collect in these spots, and pulling them out every few months prevents pest problems and maintains efficiency. For the range top, use a degreaser rated for your surface type: stainless steel, ceramic, and coated glass each need different care.
Wipe down the inside of the refrigerator with warm, soapy water, especially the rubber seals and shelves. Dust the condenser coils on the back or bottom with a coil brush: this helps the unit cool more efficiently.
Clean the dishwasher by running a cycle with a cup of white vinegar on the top rack, then sprinkle baking soda on the bottom and run a short hot cycle. This tackles built-up detergent residue and odors.
Don’t skip the inside of the microwave. Microwave a bowl of water with lemon for 5 minutes to loosen stuck-on splatters, then wipe clean. Dining chairs and table seams also collect dust and crumbs, vacuum upholstered chairs and wipe wooden table bases with a slightly dampened cloth.
Bathrooms
Bathrooms are moisture-heavy spaces where soap scum, hard water deposits, and mold thrive. Start with ventilation: clean or replace the exhaust fan cover and filter. Dust and pet hair clog these vents, reducing airflow and making humidity worse.
Remove items from under the sink and wipe the cabinet interior thoroughly, mold loves dark, damp spaces. Check for soft spots or water stains that signal a leak.
Scrub tile grout with a stiff brush and a mixture of baking soda and water, or use a commercial grout cleaner if deposits are stubborn. Hard water stains on glass shower doors yield to white vinegar or a commercial lime-removal product. Apply, let sit 10–15 minutes, then scrub and rinse.
Clean the shower surround from top to bottom. If you spot mold on caulk, don’t just paint over it, scrape out old caulk, dry the joint thoroughly, and apply 100% silicone caulk. Painted or painted drywall can harbor mold too: ensure the bathroom has adequate ventilation running during and 20–30 minutes after showers.
Wipe baseboards and the back of the toilet base with a damp cloth, overlooked dust and hair settle there. Disinfect all hard surfaces, especially handles, light switches, and cabinet pulls. Launder or replace bath mats and clean the grout between floor tiles.
Bedrooms and Living Spaces
Bedrooms and living rooms are where comfort and cleanliness matter most. Begin with decluttering and organization, the foundation of any deep spring cleaning effort.
Decluttering and Organization
Start by pulling everything out of closets, one shelf or rack at a time. Ask the hard question: “Have I used this in the last year?” If not, donate it, sell it, or recycle it. This isn’t sentimental: it’s practical. Packed closets trap dust and make it harder to find what you actually wear.
Vacuum closet rods and shelves, then reinstall items organized by category, tops together, bottoms together, etc. Use shelf dividers or bins to keep folded items from toppling. Dust ceiling corners and light fixtures in both rooms: cobwebs and dust bunnies accumulate in these overlooked zones.
Wash or vacuum fabric lampshades and clean light bulbs, dusty bulbs dim light output by up to 25%. Wipe baseboards, door frames, and the tops of ceiling fans with a damp microfiber cloth. For living room upholstery, vacuum seams with an upholstery attachment, then spot-clean any marks with appropriate fabric cleaner.
Move furniture away from walls and vacuum underneath and behind pieces, pet hair, dust, and lost items hide there. Windows deserve attention too: wipe sills, tracks, and glass with a squeegee for streak-free results. Launder curtains or dust heavy drapes with the upholstery brush.
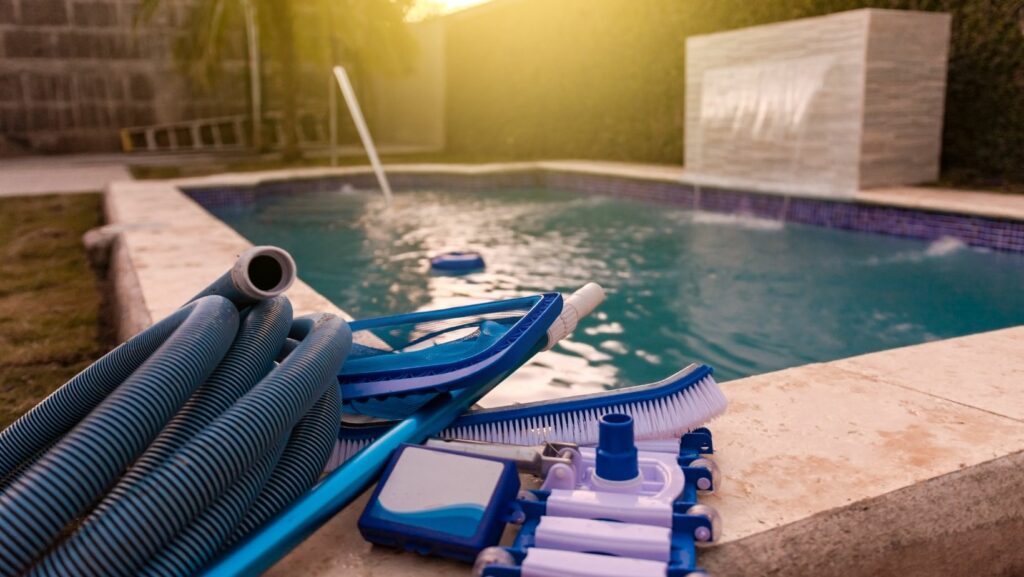
Outdoor Areas and Entryways
Entryways and outdoor spaces are the transition zones between outside dirt and indoor cleanliness. They need special attention during spring cleaning.
Sweep and wash the front porch, stoop, or deck with a deck cleaner or mild detergent solution. For stubborn algae or mold on wood decks, use a pressure washer on a low setting (1,500–2,000 PSI) to avoid splintering or gouging. Move doormats, planters, and furniture and clean underneath.
Inside the entryway or mudroom, vacuum thoroughly, including closet shelves. Wipe down coat hooks, hangers, and shelves. Clean the inside of the entry door and glass panels, salt residue and fingerprints from winter linger here.
If there’s a garage or shed, sweep out debris, wipe down shelving, and organize stored items. Check that tools are stored safely and that power tools are clean and functional for the season ahead.
Outdoors, blow out gutters and downspouts to clear winter leaves and debris. Check for leaks or damage and ensure water drains away from the foundation. Inspect window wells and clean them out so water doesn’t pool during spring rains. If you’re not comfortable working at height, this is a job for someone with a ladder and proper safety gear, or hire it done.
Pro Tips for Efficient Cleaning
Smart planning saves time and effort. Work top to bottom in each room so you’re not settling dust back onto already-cleaned surfaces. Keep your spring cleaning checklist handy and mark off completed tasks, progress is motivating.
Invest in the right tools: a microfiber cloth (reusable and streak-free), a vacuum with HEPA filtration to actually capture fine dust, and a squeegee for glass. Quality matters because cheap tools shed lint and fail halfway through the job.
Use appropriate cleaners for each surface. Abrasive scrubbers scratch tile, but they’re fine on grout. Glass cleaner streaks on stainless steel: use vinegar or specialized stainless steel cleaner instead. Read labels and test products in inconspicuous spots first.
Do a “deep spring cleaning” pass, then maintain weekly or monthly to avoid massive annual overhauls. Wipe kitchen appliances weekly, do a bathroom deep clean monthly, and rotate room focus, spend one week on bedrooms, the next on living areas. Consistency beats cramming everything into a long weekend.
Conclusion
Spring cleaning doesn’t have to be a dreaded annual marathon. Breaking the work into room-by-room tasks with a clear checklist turns the process into manageable steps. From kitchen cabinets to outdoor gutters, this spring house cleaning approach ensures nothing gets overlooked. Start early, stay organized, and remember: the goal isn’t perfection, it’s creating a clean, organized space you actually want to live in.