Leaving a home requires more than just packing boxes. Move-out house cleaning is a critical step that protects a security deposit, maintains landlord relationships, and leaves the property in respectable condition for the next occupants. Whether someone’s renting or selling, a thorough cleaning can mean the difference between a full deposit return and unexpected deductions. This isn’t about perfection, it’s about systematic, room-by-room attention to the spots landlords and inspectors actually look for. The good news is that a structured approach and the right tools make the job manageable, even in tight timeframes.
Key Takeaways
- Move-out house cleaning directly protects your security deposit and is now documented with photographic evidence in most states, making thorough cleaning essential to avoid contested deductions.
- Kitchens and bathrooms require the most attention during move-out cleaning because they show wear fastest and heavily influence landlord inspections and deposit refunds.
- A structured 4-day cleaning timeline—focusing on kitchens/bathrooms first, then bedrooms and living areas, with a final walkthrough—makes move-out house cleaning manageable even with tight schedules.
- Using the right tools (microfiber cloths, pH-neutral cleaners, plastic scrapers, and Magic Erasers) and cleaning top-to-bottom prevents recontamination and ensures inspectors find no overlooked spots.
- Documenting the final cleaning results with photos protects you against future disputes over deposit deductions and provides clear proof of the property’s condition at move-out.
Why Move-Out Cleaning Matters
Move-out cleaning isn’t optional theater. It’s a contractual reality tied directly to getting money back. Landlords document move-out inspections and use photos to justify deductions for dirty or damaged conditions. In 2026, many states now require landlords to provide photographic evidence and itemized deductions, which means sloppy cleaning can leave a paper trail that’s hard to contest.
Beyond deposits, there’s a practical and ethical dimension: leaving a clean home speeds up turnover for the landlord and next tenants, potentially avoiding disputes over whose mess is whose. For sellers, a clean home photographs better for online listings and shows respect during walkthroughs. Professional move-out cleaning can run $400–$1,200 depending on house size and condition, so many people tackle it themselves to save money. The payoff of three to four hours of focused work is often a full deposit return, which typically ranges from $800 to $2,500 or more.
Room-by-Room Cleaning Strategy
Kitchen and Bathrooms
Kitchens and bathrooms demand the most attention because they show wear fastest and influence inspections heavily. Start here while motivation is high.
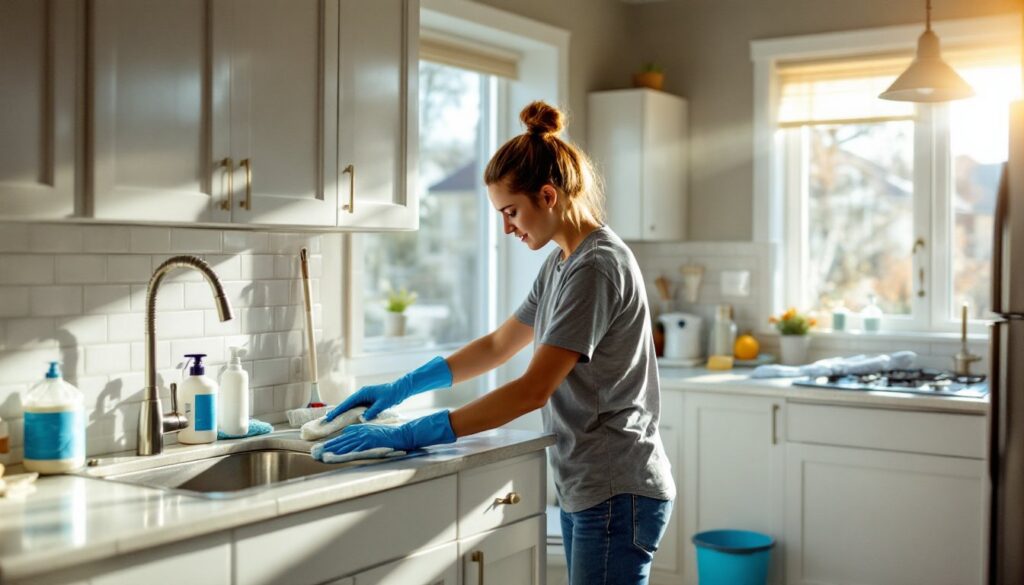
Kitchen: Degrease the stovetop with a degreaser like Goo Gone or vinegar-based spray: burnt residue requires soaking and a plastic scraper (never steel wool on glass tops). Wipe cabinet fronts, handles, and inside shelves, grease accumulates on insides that renters overlook. Clean the refrigerator interior with a damp cloth and a dab of baking soda on stubborn spots. Wipe down light switch plates and door handles with a microfiber cloth. Don’t skip the sink: polish stainless steel with a microfiber cloth and mineral oil or a specialty cleaner. Mop the floor with a pH-neutral tile or vinyl cleaner, acidic or abrasive cleaners can scratch finishes.
Bathrooms: Scrub toilet bowls with a brush and toilet bowl cleaner: let it sit 10 minutes for stubborn stains. Clean the exterior with an all-purpose spray. Descale showerheads by soaking them in white vinegar if mineral deposits are visible. Scrub tile grout with a grout brush and a paste of baking soda and water, or use a commercial grout cleaner. Wipe mirrors and glass with a glass cleaner and lint-free cloth, newspaper works in a pinch, though microfiber is better. Polish faucet fixtures. Don’t forget ventilation fan grilles: dust them with a soft brush or cloth. Mop with the same pH-neutral cleaner used in the kitchen.
Bedrooms and Living Areas
Bedrooms and living spaces need less scrubbing but equal attention to detail. Dust all surfaces, baseboards, and corners. Baseboards collect dust and footprints, run a microfiber cloth along them in every room. Vacuum or mop floors thoroughly, paying attention to corners and under where furniture sat: discoloration often appears after furniture is removed. Check for scuffs on walls: Magic Erasers remove most marks without damaging paint, though test in an inconspicuous spot first. Don’t paint over marks unless the landlord agreed in writing. Wipe light fixtures, ceiling fans, and door frames. Remove any adhesive residue from removable hooks or hangers using rubbing alcohol on a cloth.
Essential Tools and Supplies
Gather these tools and supplies before starting: running out mid-project wastes time:
Tools:
- Vacuum with attachments (handheld for upholstered corners)
- Microfiber cloths (non-shedding, better than paper towels)
- Mop and bucket or spray-mop for hard floors
- Toilet brush and scrub brushes (grout brush, soft brush for dusty areas)
- Plastic scrapers (avoid metal on sensitive surfaces)
- Step stool or ladder for high areas
- Squeegee for glass and tile surfaces
Supplies:
- All-purpose cleaner or castile soap diluted in water
- Degreaser (for kitchen buildup)
- Glass and mirror cleaner
- Toilet bowl cleaner
- Bathroom tile and grout cleaner or baking soda and vinegar
- Trash bags (multiple sizes)
- Rubber gloves and safety glasses
- Optional: Magic Erasers, gesso or touch-up paint pen for wall marks
Safety note: Wear nitrile gloves and ensure good ventilation when using chemical cleaners. Avoid mixing cleaners, bleach and ammonia create toxic gas. If uncertain about a product’s safety, test it on a hidden area first or read the label’s dilution instructions carefully.
Timeline and Scheduling Tips
Planning prevents panic. Start two weeks before the move-out date if possible, but a four-day focused effort works if organized.
Week-of schedule:
Day 1: Deep-clean kitchen and bathrooms. These are longest and most detail-heavy. Tackle them first when energy is high.
Day 2: Dust, vacuum, and baseboards in all bedrooms and living areas. Mop or vacuum floors.
Day 3: Final walkthrough. Check for missed spots, scuffs, and sticky residue. Touch up walls if needed. Clean light fixtures and ceiling fans if not done. Wipe all door handles and light switches a final time.
Day 4 (move-out day): Final sweep and trash removal. Quick final vacuum pass if pets or kids were present.
Pro tips:
- Clean top to bottom and back to front so you don’t recontaminate cleaned areas.
- Open windows for ventilation and faster drying.
- Take photos of the final result for your records: compare them to the original move-in photos if disputes arise later.
- Schedule the final walk-in inspection with the landlord during the cleaning process or immediately after, before dirt re-settles.
- Return keys, garage door openers, and access cards on the agreed date to avoid extra charges.
Conclusion
Move-out cleaning is straightforward when broken into manageable chunks. Kitchens and bathrooms absorb most effort, while bedrooms and living spaces need consistent attention to detail. With the right tools, a practical timeline, and focus on the areas inspectors examine most closely, anyone can achieve a clean move that protects their deposit and leaves a good impression. A few hours of methodical work beats the cost of professional cleaning and the stress of chasing deductions later.